Meal Plan & Grocery Generator
Meal Planner is digital trend that can be used by a registered dietitian or trainer or a person in the action of deciding meals in advance using your schedule, preferences, foods on hand, seasonal produce, sale items, etc. Consequently, meal planning usually leads to grocery shopping once a week, for only the items needed and having others.
This component makes weekly meal planning, grocery list, and healthy recipes makes meal planning easy so your clients can lose fat, build muscle, feel great, and save money.
Enter the recipes to the database. Either you can add the recipe details first and then the groceries or vice versa.
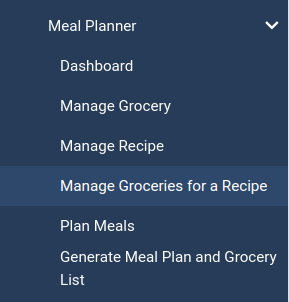
Step 1: Add the groceries by going to Meal Planner > Manage Grocery. Click New.
In the Add Grocery form:
- Type name of the grocery in the Title field.
- Select the Category. You can select multiple categories the grocery belongs to by holding [CTRL] button and selecting the categories.
- Type short description and submitting the form.Note: there is a calorie field, this is just for your reference and not displayed anywhere. We plan to release the calorie calculation later.
Step 2: Add the recipe by going to Meal Planner > Manage Recipe. Click New.
In the Add Recipe form:
- Type name of the recipe in the Title field.
- Type the instructions of preparing the recipe. This field is a WYSIWYG editor which allows users to type html content and format it for readability.
- In the Other details Tab select the meal type the recipe belongs to like Breakfast, Morning-Snack, Lunch, Afternoon Snack and Dinner.
- Save the form.
Step 3: Add groceries to the recipe by going to Meal Planner > Manage Groceries for a recipe.
- In the first tab “Recipe and Grocery”. Select the recipe and then the grocery you wish to add.
- In the second tab type measurement of the grocery required to prepare the recipe and select a measurement unit.
- Type a comment (optional) in the thrid tab and
- Save the form.
Step 4: Now you can plan meals for your customer by going to Meal Planner > Plan meals allows you to plan and add meal plans for the customers.
- Select date you plan to plan the meal.
- Select the client/customer – basically the users registered or added to the site.
- Select a Meal Type (Breakfast, Morning-Snack, Lunch, Afternoon Snack and Dinner)
- Select a Recipe
- Type if any Special dietary instructions (optional) and
- Save the form.
Step 5: Finally you can generate meal plan or calendar for the week or date range.
- Select a client
- Select the meal plan date from and to and search to list the meal plan based on meal type and day of the week.
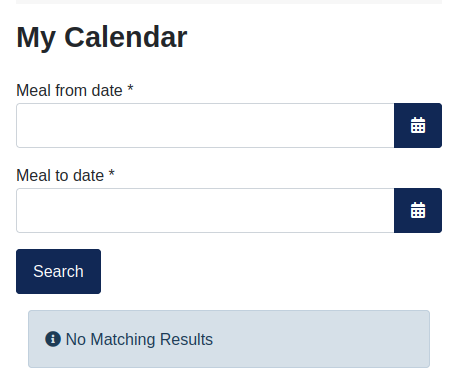
Search filter
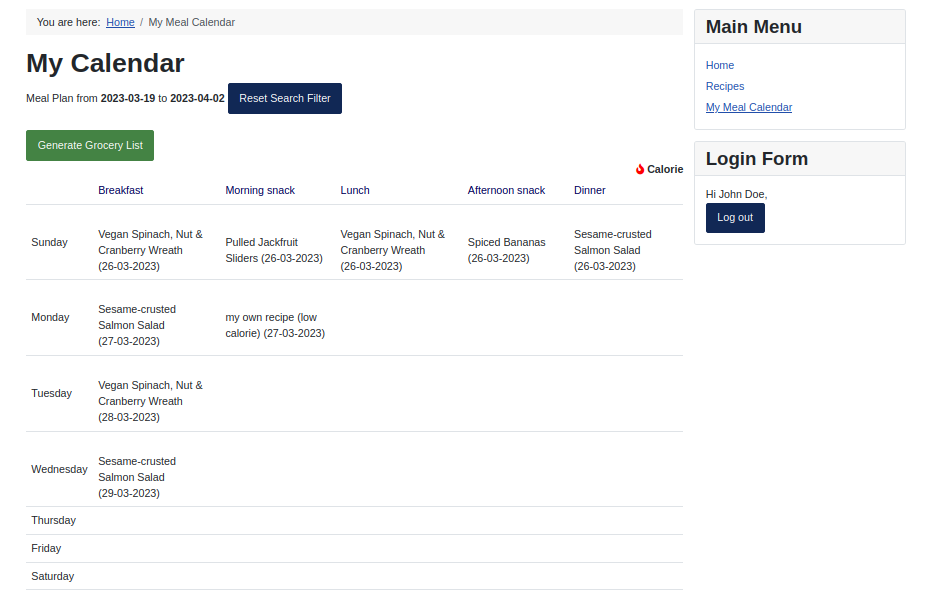
Meal Calendar
-
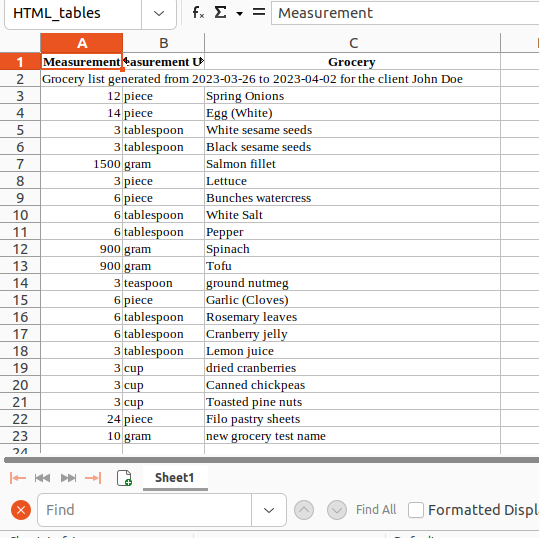 Grocery List Generated by the Meal Planner
Step 6: In order to give access to the Meal Planner or Calendar to your customers, go to Menus > Main Menu.
- Add a new menu.
- Under the Menu Item Type > Select Meal Planner > My Calendar view default template.
- Give a menu title ex: My Meal Calendar.
- For the access do not forget to give access to the Registered users.
- Save the form.
The menu will appear in the Public website’s for the logged in users. The link will give logged in customers to see there meal plan created by you. They will also be able to generate grocery list.
To list all the recipes to the public users add a new menu.
- Under the Menu Item Type > Select Meal Planner > Recipe view default template.
- Give a menu title ex: Recipes.
- For this you can give access to anyone – Public.
- Save the form.
The menu will appear in the Public website’s. The link will display all the recipes added and option to see the groceries required for preparing the recipe.